The Risky Business SOS software for Windows arrives as a file called setup.exe that needs to be run on the computer where it will be used. This will install a database for your information and the software required to manage the database. More information on the database can be found in the section called “Database Location”.
The following steps show you a typical installation.
Double click on the setup.exe file to start the installation.

Click the next button.
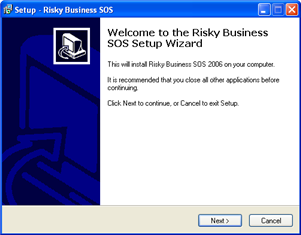
Read the license agreement and if you accept click the "I accept the agreement" and then the button to continue. If you do not accept the license agreement simply click the button to stop the installation.
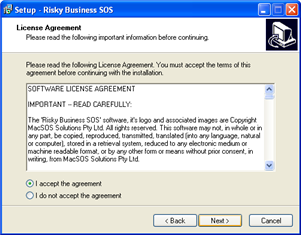
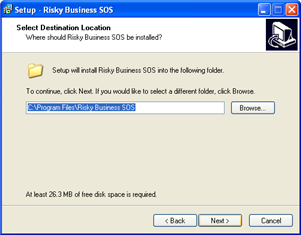
Click the button to accept the default installation folder or change the location of the installation folder and then click the button to continue.
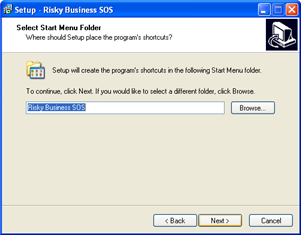
Click the button to accept the Start Menu folder name to install the program shortcut in or change the name of the folder of the and then click the button to continue. This will be the name of the folder that you will see in the Microsoft Windows start menu.
If you would like an icon for the Risky Business SOS software on your desktop check the box named "Create a desktop icon" and then click the button to continue. Otherwise simply click the button to continue.

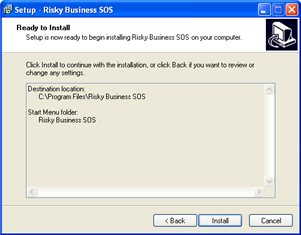
Review the installation settings and either click the Install button to begin the installation or click the button to go back and make changes to the installation settings.
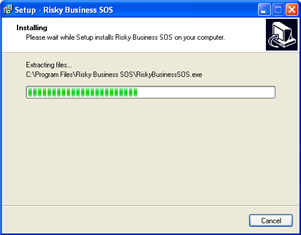
Wait for the installation process to finish installing the necessary files.
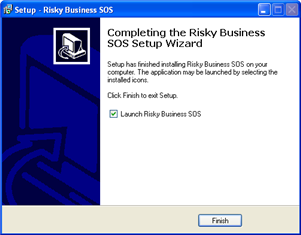
The installation has finished and you can either start the Risky Business SOS software immediately by checking the "Launch Risky Business SOS" box and clicking the button. To finish the installation without starting the software, uncheck the "Launch Risky Business SOS" box and clicking the button.
If you receive any errors check the list below for some common installation issues.
file is corrupted: the file may have become damaged while being downloaded from the Internet. Try downloading the file again.
not enough hard drive space: verify that you have at least 120 megabytes of hard disk space where the software is being installed
insufficient rights to install: your user account on your computer may not have the necessary rights to instal the