Each company will have one or more Standard Operating Procedures that they will use within their organization. These Procedures will be assessed for risks, hazards, contain detailed descriptions of chemicals used and associated incidents, and eventually be reviewed by the NonTechnical users. For more information about Procedures see the section called “Making And Approving SOPs”.
You should be back in the main window which also shows an overview of all procedures.
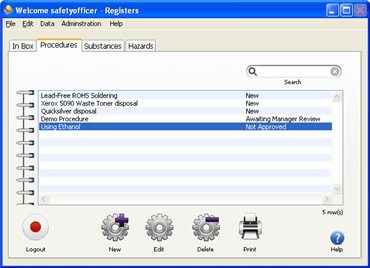
Click the button to start creating a new Procedure.
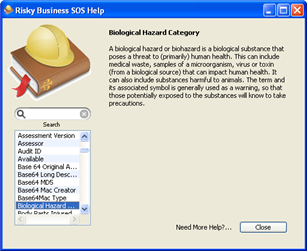
The built-in glossary and online help system will appear. Click the button to close it.
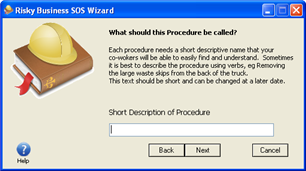
The "Procedure Wizard" window will appear. Enter "Handling of Ethanol" in the "Name this Procedure" field and click the button.
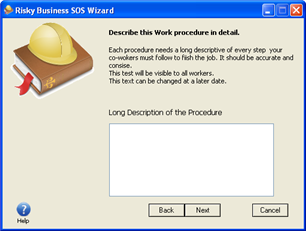
In the Description field, enter in some steps for your Handling of Ethanol. An example is below. Click the button when you are finished.
1.0 Context
     This is a how to handle Ethanol. The proper use of Ethanol requires 3
     important steps.
2.0 Environment
  2.1 Proper ventilation
         All work is to be done in a well ventilated room.
  2.2 Proper protection
         At all times use plastic gloves and goggles to avoid skin contact
3.0 Handling
  3.1 Checking expiration/ quality
         Verify that the expiration is current on the label.
  3.2 Add required quantity to mixture
  3.3 Clean tools used in procedure using the Standard Cleaning Procedure
  3.4 Note usage on chemical usage form with date and signature
3.0 Disposal
      When a quantity of Ethanol has become unusable, it must be disposed
      of in the chemical waste tank.  It is not to be put into the public
      waste disposal system.
4.0 Incident
  4.1 Spill/ Leak
         If a spill or a leak occurs, immediately notify the SafetyOfficer
         on duty before trying to clean.
  4.2 Contact
         If skin contact occurs, use the chemical washing station to flush
         the contact area with water.  Contact the safety officer for
         reporting this incident.  If any skin irritation occurs
         immediately consult a physician.
You should now be in the general Procedure and Assessment window shown below.
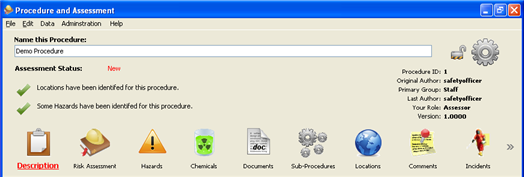
Click the Risk Assessment icon.

In the Major Risk Summary field, enter in the major risks for the Procedure. Specific Chemical risks and Hazards will be added when Substances and Hazards are added to the Procedure.
Skin and eye irritation are possible.  Damage to lab equipment can occur
after long exposure or incorrect cleaning of tools.
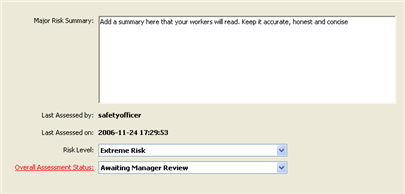
Click in the Risk Level field and select the "Low Risk" option (normally risk level will be done at the end of the Procedure after all other information has been entered.)
Click in the Overall Assessment Status field and select the "New" option (normally assessment will be done at the end of the Procedure after all other information has been entered.)
Click on the toolbar item to add hazards to this procedure. In the demo installation a Hazard has already been linked for you which is called "Ice on front steps".
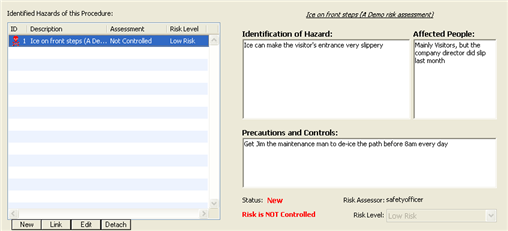
Click on the hazard "Ice on front steps" to see additional information about it on the right side of the window. Notice that it has a red danger symbol next to it. This is because the Hazard has been entered but not yet controlled.
Click the button on the lower left portion of the screen to edit the selected Hazard so that we can change it to a controlled hazard.
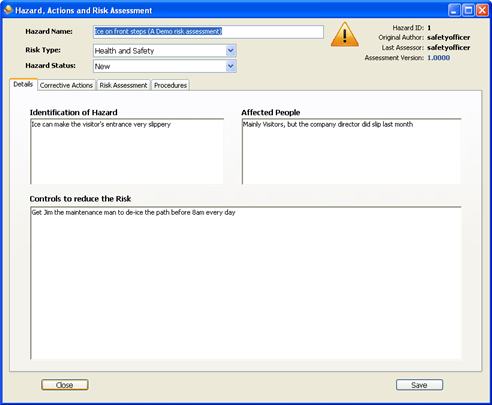
Click the Corrective Actions tab to leave a note on when we corrected this Hazard. You can also assign tasks to others with this panel and plan for tasks that have not yet been done.
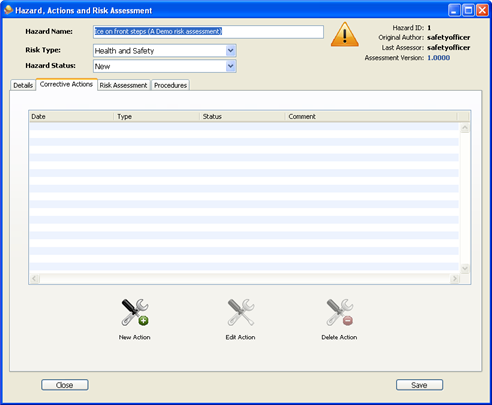
Click on the button to add an action to this Hazard.
In the Action window that appears, set the Action to Correspondance Requested, Status to Closed, and add the comment "Ask Jim if he can do this every day."
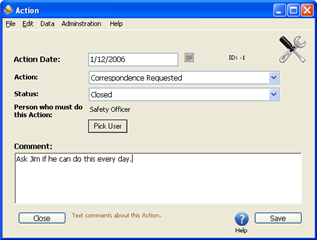
When you are finished making changes to the Hazard, click the button.
Click the Risk Assessment tab
Click the circle next to the words "I am confident that the Risks if this Hazard are controlled".
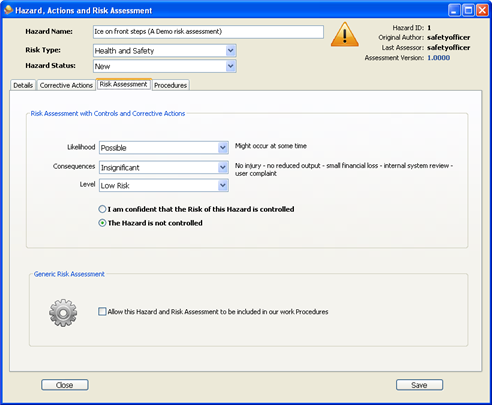
When you are prompted with the question "Would you like to set the Status of this Hazard to 'Closed'?" click the button. This will close the Hazard case and change it's risk assessment to "Controlled". If you are asked if this is a minor or major change, click the button.


Click on the toolbar item to add chemicals to this Procedure.
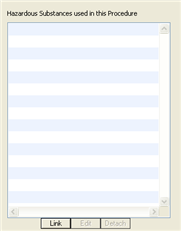
Click the button on the lower left portion of the screen to add a chemical to this procedure.
In the Substance search window, click the button to list only chemicals that begin with the letter "E".
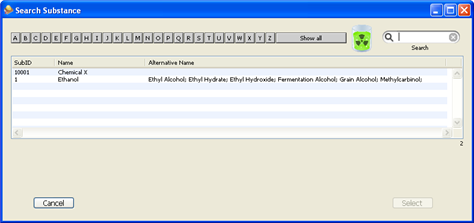
Click on the substance named Ethanol to highlight it in blue.
Click the button to add this chemical to the procedure. An additional window will open to allow you to add exposure, typical use and first aid information for this chemical when used for the selected procedure.
When the "Substance Risk in Procedure" window opens click "Eye" under the "Routes of Exposure" list.
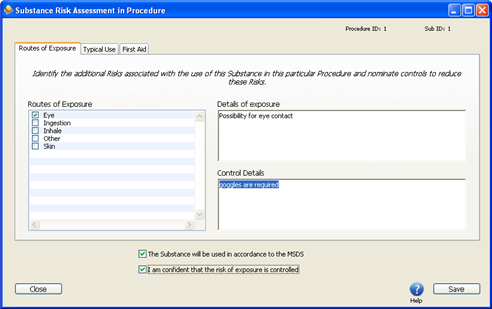
In the Details of Exposure field, type in the following text.
Possibility for eye contact.
In the Control Details field, type in the following text.
Goggles are required.
Click the tab to start entering information about how the chemical will be used with this particular procedure. Information from the Chemical substance library will be imported on the right but you can add specific use notes for the selected Procedure on the left.
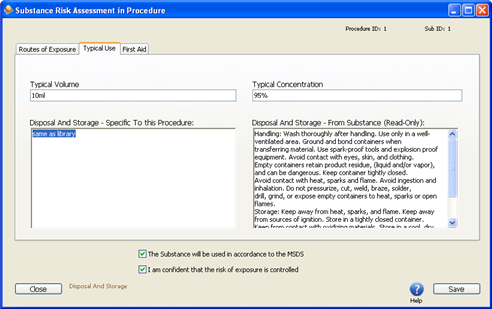
In the Typical Volume field, type in the following text.
10ml
In the Typical Concentration field, type in the following text.
95%
In the Disposal And Storage field, type in the following text.
Same as library
Click the tab to start entering information about how the chemical will be used with this particular procedure. Some information is automatically imported from the chemical substance library.
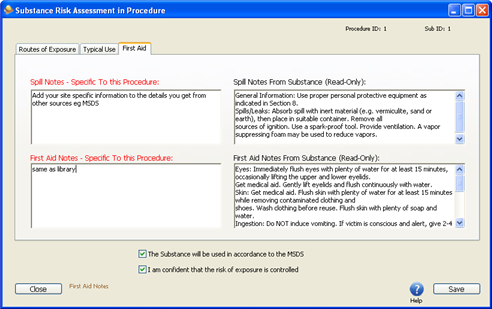
In the Spill Notes field, type in the following text.
Same as library
In the First Aid Notes field, type in the following text.
Same as library
Check the box labeled "This Substance will be used in accordance with the MSDS."
Check the box labeled "I am confident that the risk of exposure is controlled". This will record the use of this chemical with the selected Procedure as being controlled. Other Procedures using the same chemical may or may not be using it in a controlled fashion but in this particular use it is indeed controlled.
Click the button to accept this chemical information into the procedure that is being edited.
Click the tab to show the possible locations of this procedure.
In the locations list, check the box named Seattle. If you did not go through the previous example to create the Seattle location, choose Sydney.
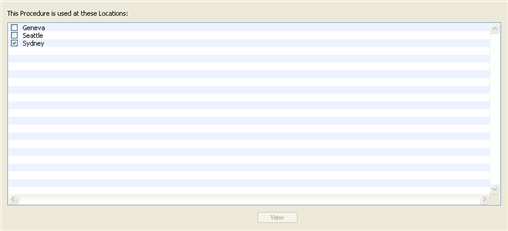
Click the button to save the new Standard Operating Procedure and then click the button to return to the main window.
![[Note]](images/note.gif) | Note |
|---|---|
Normally you will save the risk assessment and approval stages until the very end. Preferably these activities will be done by different people to verify that all necessary controls and dangers have been accounted for and clearly communicated. |
Additional panels are available for managing your Procedures however this example only introduced you to a few of them.